
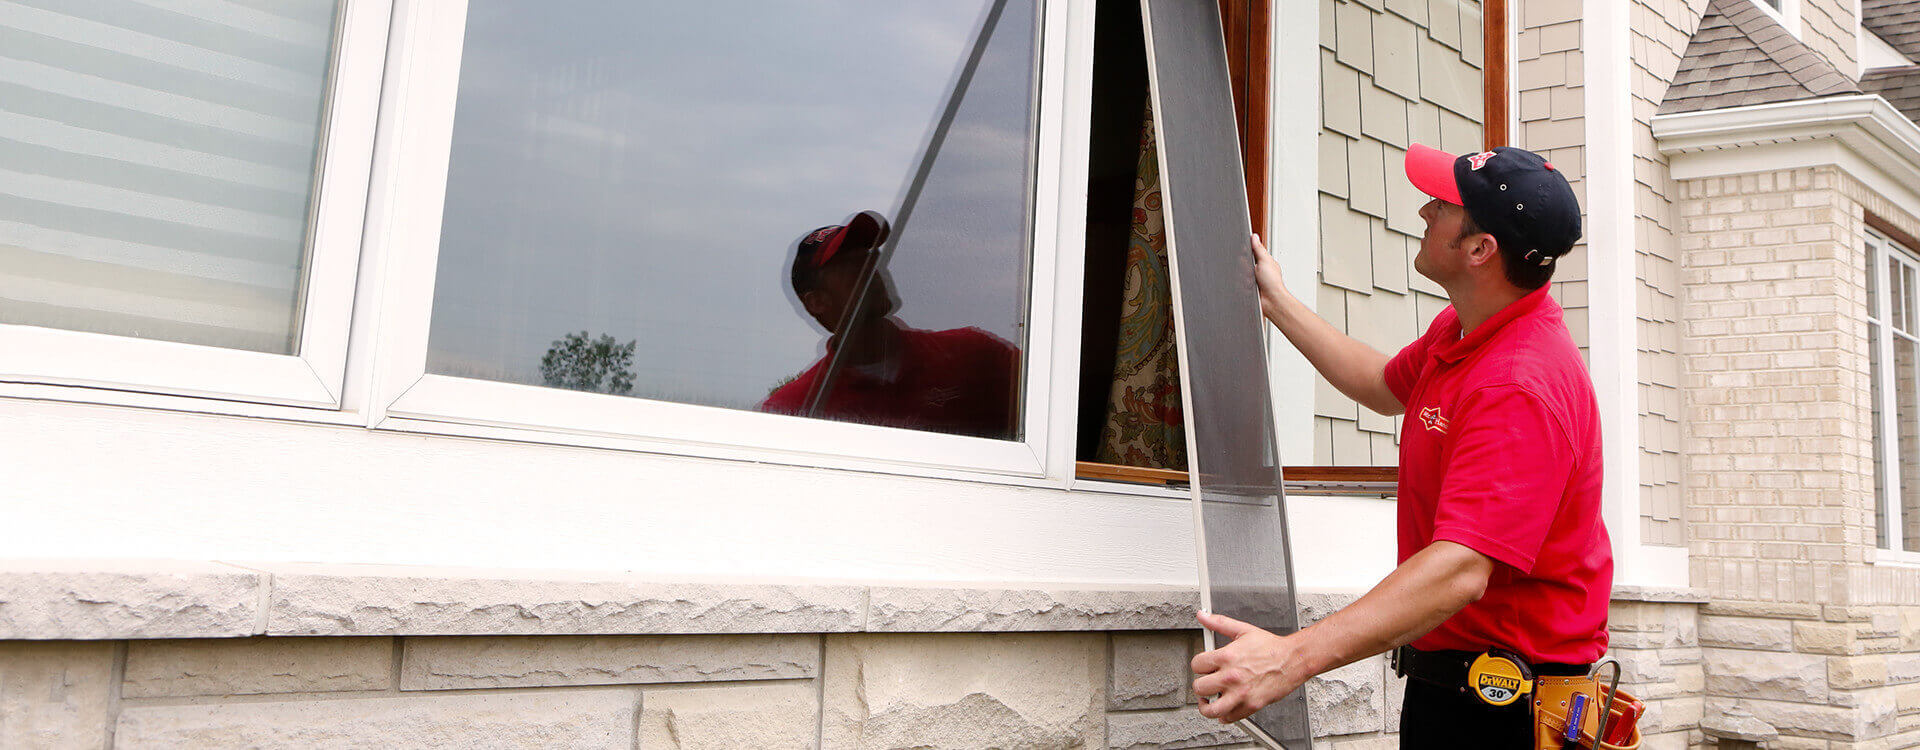
There are many steps you can take to learn how to become handyman. Below are some tips about Education, Preparation. Planning. And Costs. The next step is to find an assistant or apprenticeship to help you do the job. You can then start learning the job and making money. After you have gained enough experience, you may be able to become a handyman.
Education
Although many handymen learn their trade on the job, formal training can help you be more efficient. You can take a handyman training course on your own time or at a night school. Building construction knowledge will improve your job flexibility and job performance, which could lead to fewer delays. You can also access free resources such Habitat For Humanity to learn trade skills. You can get a certificate to help you choose the right school.
Preparation
Apprentice handymen need to be trained in electrical systems. Many of the repairs and renovations around the home require formal knowledge of electricity and safety procedures. To be safe working with electricity, you need to have basic knowledge. Handyman training programs provide the necessary tools and help with troubleshooting. Electrical training programs are available online or at local trade school. This program will help you become a professional handyman, capable of fixing everything from appliances to electronics at home.
Planning
It takes certain skills to start a handyman-business. While there are many advantages, there are also some disadvantages. It requires flexibility in your work schedule and the provision of specialized services. This business is easy to start and requires no office space nor employees. It is not necessary to advertise your business, or hire costly advertising. Even if you don’t wish to advertise, you can still make money.
Costs
Costs to become a handyman will vary according to where you live. There are also costs associated with unemployment insurance, both federally and in your state. The average monthly wage for self-employed handymen in the Seattle area is around $6k. Additional expenses may include insurance premiums, business licensing fees, and payments to employees. For taxes, self-employed handymen can save between 20-30 percent and 30 percent of their taxable earnings. The cost of living in your area will also determine how much you need to earn to cover your expenses. Rates will rise if you have higher living costs.

Business model
There are many ways you can be your boss. It is possible to start as a solo-preneur doing odd jobs around the home, but as you gain clients you can expand your expertise. You may even have to get additional licenses and certifications to expand your business beyond handyman services. To run a successful handyman business, you must have the right tools.
FAQ
How long does a handyman take?
It takes many years of hard work to become an expert handyman. It starts by helping close friends and family. Then it becomes a full time job.
You'll start to learn all the skills needed as you go along.
What license do I need to become a handyman in order to get my permit?
Most states don't require a license in order to be an independent contractor, as opposed to a salaried employee. However, there are some requirements you must fulfill:
-
You must be at least 18 years.
-
Have a high school diploma or GED.
-
You will need to complete a four week course at a vocational college.
-
Pass a background check through the state's Department of Licensing.
-
Pay a $20 fee to register annually.
Also, you will need to obtain a business license and workers' compensation insurance.
Can a handyman fix my leaky faucets?
While a handyman is capable of handling minor repairs, they will not be qualified to do major projects like wiring up a house or installing custom-made cabinets. For minor home improvement tasks, however, there are no limits to what a handyman can accomplish.
What qualifications does a handyman need?
A handyman's most important attribute is patience. A strong understanding of home maintenance and electrical systems are essential.
Many jobs are available to qualified workers. However, if they don't exist, you may not be eligible.
It might be worth looking into schools that specialize in these courses.
Statistics
- “Once the pandemic hit, that number fell to about 20%.” (inquirer.com)
- Mila keeps a commission of 20% for each completed service performed by Friends and charges various service fees regarding work done by Pros. (appjobs.com)
- With a strong housing market, the handyman and general maintenance worker industry are expected to grow by nearly 10% in the next decade. (housecallpro.com)
- According to the U.S. Bureau of Labor Statistics, in May 2020, there are 1,357,630 handymen employed in the U.S.. (angi.com)
- Another estimate was that the market in the United States was $126 billion and was increasing by about 4% annually. (en.wikipedia.org)
External Links
How To
How to replace a damaged tile
Step 1 - Take out the old tiles.
The tiles should be removed from the flooring and placed aside. You'll want to keep these intact if you use them later. To avoid any problems with replacements, take note of the pieces that have been damaged or lost.
Step 2 - Select New Tiles
Here are some options for tile repair.
-
Find a new tile that's similar to the one you removed.
-
To find the matching piece, use the measurements that you took while removing the tile. This will make it easy to get the correct size without having again to measure.
-
Look for various colors, patterns, textures, sizes, shapes, etc.
-
Consider which grout you would like to use, if any. Some people like a consistent color while others prefer mixing it.
-
It is important to ensure that the tile you choose resists moisture.
-
Make sure you consider where your tile will be placed. It can help you save money and time.
-
Once you've found the tile that suits your needs, you can place your order online.
Step 3 – Install the new tiles.
Install your tiles using the same method you used before. You must align them correctly to ensure they fit together.
Step 4: Clean Up
Make sure to clean up all debris and other materials before applying the final layer of protection material.
This will keep dust and dirt from getting into the grout between tiles, which could lead to mold.
Step 5 - Sand Down the Floor
After cleaning, sand the floors to remove any particles.
Step 6 – Finish Off
Once the floor is completely smooth, apply the protective coatings to the tiles. It is important to wait before you apply the protective coatings.
You can always use a "damp and dry" product on your floors to protect them from staining.
However, it will not cover all possible problems that may arise after you have installed your tiles. For example, if you have a lot of kids running around, you may want to consider using an anti-slip coating on top of the protective layer.
And finally, remember to leave the protective sealer on for several weeks before moving back into your home.